This is part 5 of a series in which I will show some of my approaches to a “Cloud Ready” web application with Clojure. If you are new to web apps with Clojure, you should read the first four parts first:
- Cloudready Clojure Part 1
- Cloudready Clojure Part 2
- Cloudready Clojure Part 3
- Cloudready Clojure Part 4
In these, we set up a webserver, session handling, the base for serverside HTML rendering, a configuration mechanism and database deployment mechanism which will work with cloud providers. This article will not add anything new to the application but show how to install this preliminary version to the cloud, so we can check our assumptions and mechanisms early. This is going to be heavy on text and screenshots, so if you are not interested in deploying the application in the cloud, just jump to the headline “Validating the application” to see how the concepts work in the end.
Deploying to the cloud
As promised in the last part of the series, we will deploy our application to Heroku. I enjoy using Heroku for smaller hosting projects, as it is easy to use and really transparent in displaying your expected bills for the month.
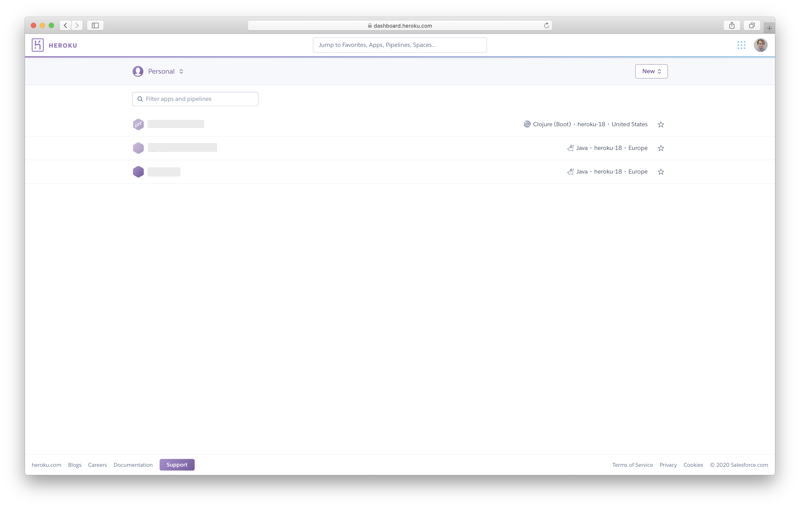
When we log into our Heroku account, the first thing we see is a dashboard listing our available applications (names grayed out by me):
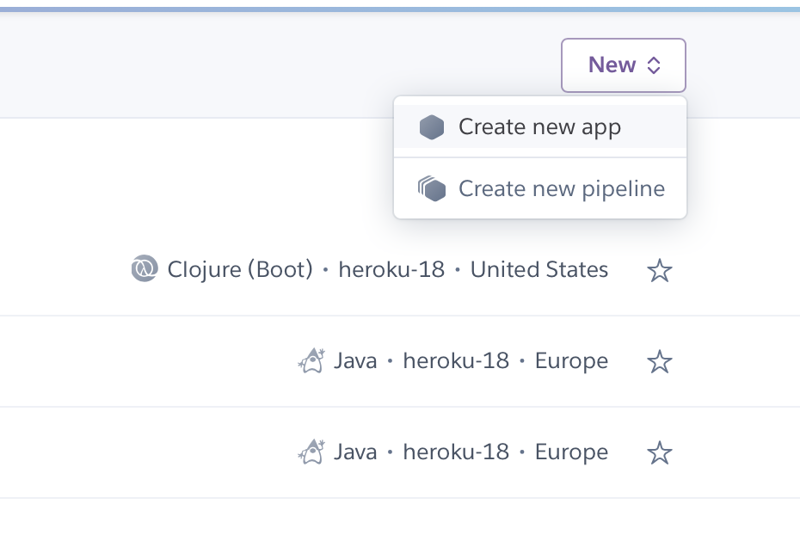
To create a new application, we select the entry “Create new app” from the menu in the top right of the screen:
In the following form we enter a name, select the region in which we would like are app to be hosted and click “Create App”:

The website redirects us to our apps settings. To keep the example simple, we are not creating a pipeline on Heroku, but just link our GitHub Repository to the application, to directly deploy our instance from the repository:

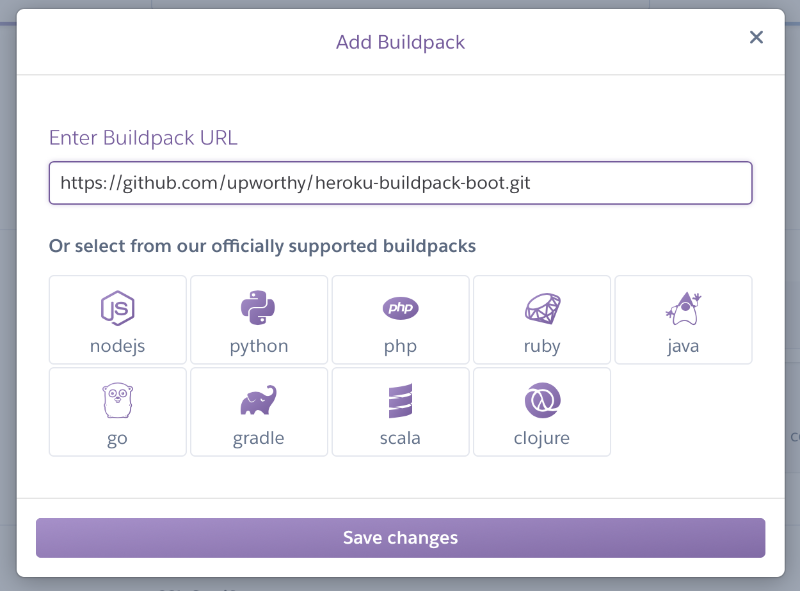
In the following screen, we click on the button “Enable Automatic Deploys”, which will make sure that every push to our master branch will trigger a build and deployment to Heroku. This does not mean that we are ready to build and deploy our app. Before we can do this, we need to specify a build pack, which transforms our code to a runnable application. For basic Java Maven Projects and even Clojure projects with Leiningen, Heroku automatically detects the correct buildpack. But our application uses Boot as buildtool, so we need to specify the custom buildpack https://github.com/upworthy/heroku-buildpack-boot.git under “Settings” -> “Add Buildpack”:
The buildpack makes sure, our application is properly built, but we still need to add a Heroku specific file to our projects root - the Procfile. For our project it looks like this:
web: java -Dport=$PORT -jar target/scrapbook-0.1.0-SNAPSHOT-standalone.jar
This tells Heroku several things:
- It specifies, that we are running a web application
- It contains the command to start the application from the uberjar
- It maps the content of the environment variable
$PORTand overrides the port from ourconfig.ednfile. This is necessary, because Heroku will assign a random port to our application and store it in this environment variable. Externally, our application will be available from port 80.
Now, that we need to override our applications configuration with values specific to our environment, we profit from using the yogthos/config library for the first time. If we take a closer look, we would not have needed to specify that parameter, even! The environment variable $PORT would have overridden the value from config.edn due to the libraries definition, anyway! But this enabled me to showcase the mechanism in a little more detail 😉
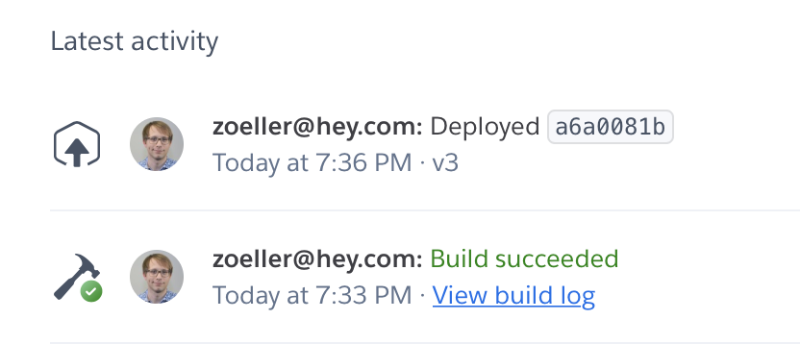
If we add the Procfile to our project and push everything to GitHub, Heroku automatically starts a build. We see the buildpack working, the build being successful - and the app crashing. We forgot to provide a database.
Creating a database
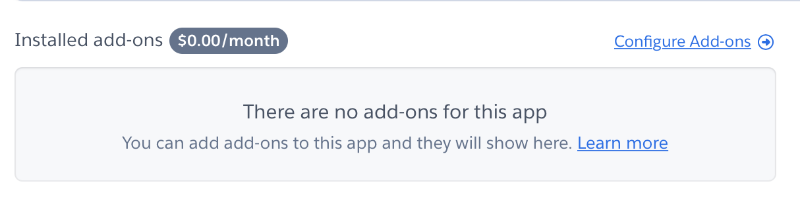
Adding a database to our application will require only a little configuration. We start on the applications “Overview” tab and click on “Configure Add-ons”:
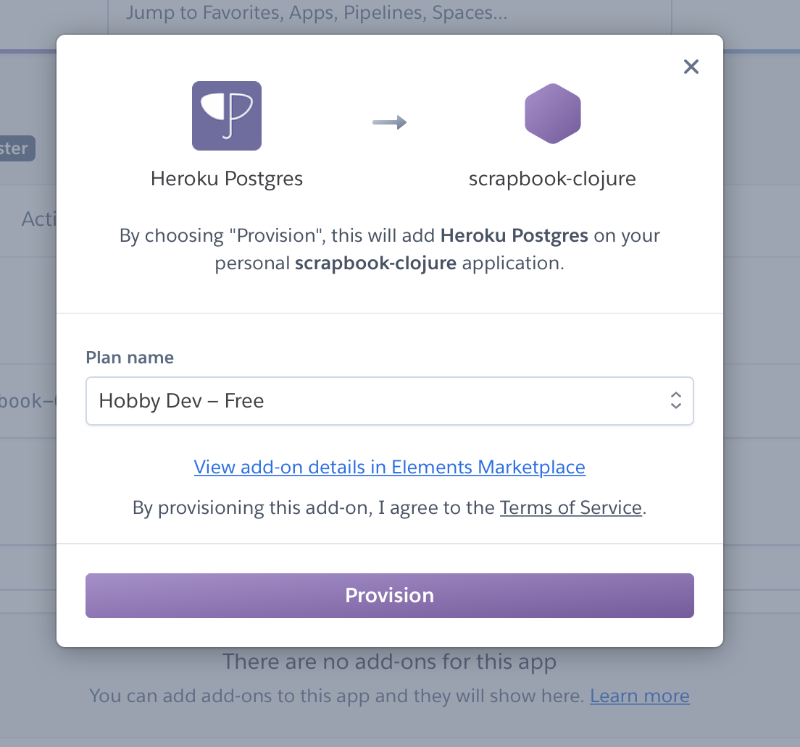
In the next web view we search for “Postgres” and click on the result “Heroku Postgres”. A popup appears, prompting us to select a plan. For now we are good with the “free” plan. We click the “Provision” button:
The database is quickly created. We click on its name, and are redirected to data.heroku.com, where we can see the databases credentials under the “Settings” tab (no screenshot this time 😉). Note the values listed there, head back to the “Settings” tab of our Clojure application on the Heroku Dashboard and click on the “Reveal Config Vars” button. In this view we need to provide an environment variable DB which will override the values of our key :db in our config.edn file:
{:dbtype "postgresql"
 :host "ec2-54***************.amazonaws.com"
 :user "srt******ckq"
 :password "020bf473934****************52126b823611fb8c4640"
 :dbname "d1ko********o9rj"}
We restart the application via the top-right menu “More” -> “Restart all Dynos”, and now, the logs look much more promising. We see our migratus output, and also, finnally, the following message: 2020-08-23T19:28:41.716277+00:00 heroku[web.1]: State changed from starting to up. A click on the button “Open app” in the top right corner shows our applications welcome screen. We are live! 💪🤘
Validating the application
In the previous steps we already validated that our application config works in a “Cloud Ready” way. We can specify default values for our apps config in the config.edn file, and override them with the environment variables in the Heroku console. This enables us to use the randomly assigned port for our app, and connect with the specific database of our environment. When we connect to the database (either with the Heroku console, or directly with a tool like DBeaver and the connection credentials fromn the previous step), we can also see that the session and migratus tables were created, and there is even a session in it:
session_id                          |idle_timeout|absolute_timeout|value                                                                                                                                                                                                      |
------------------------------------|------------|----------------|-----------------------------------------------------------------------------------------------------------------------------------------------------------------------------------------------------------|
1d4eea57-ee71-4db4-a9f7-8c34be50051c|  1598211404|                |NPY p j usernamei Timj,ring.middleware.session-timeout/idle-timeoutf_BºLj/ring.middleware.anti-forgery/anti-forgery-tokeniPzSpIpaZI4JteLvvWJDEoa2UMPslTXQF5BKj8jFhNiF5PepzKBU/eEysHpt4Gp4ePPqaf43DV5kWwxTEH|
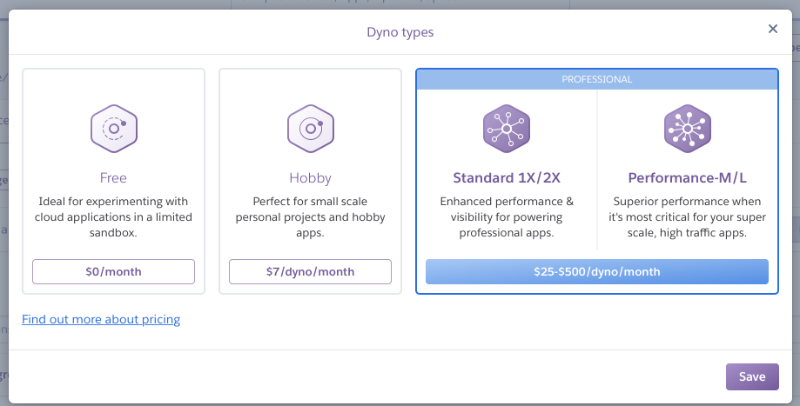
So both our config and migratus work as expected. Now we remember, that we introduced the session table to support clustering over multiple nodes of the same applications. We can try this, too. In the Heroku console, navigate to the “Overview” tab of our application and click on “Configure Dynos” to change the machine behind our app. On the next web view, we click on “Change Dyno Type” and select “Standard 1X/2X”. They support scaling multiple instances (starting from 25$ a month).
We then scale the Dyno count to 5 instances and click “Confirm”.

After waiting one or two minutes for the nodes to scale up, we go back to the web interface and refresh the page several times. We can observe, that the cookie we receive from the web server stays the same, and in the database there is still only one session. We are now distributing the “load” of the application to 5 instances, and the user doesn’t have a clue. Our assumptions were right, the application works flawlessly in a scaled environment. We can scale the Dynos back to “0” instances now, to save money 😉
Next steps
Now that we are able to deploy to a cloud provider and migrate database schemas to our desired versions, we will integrate a user login with Google via OAuth2.0 in the next episode of this blog series.